

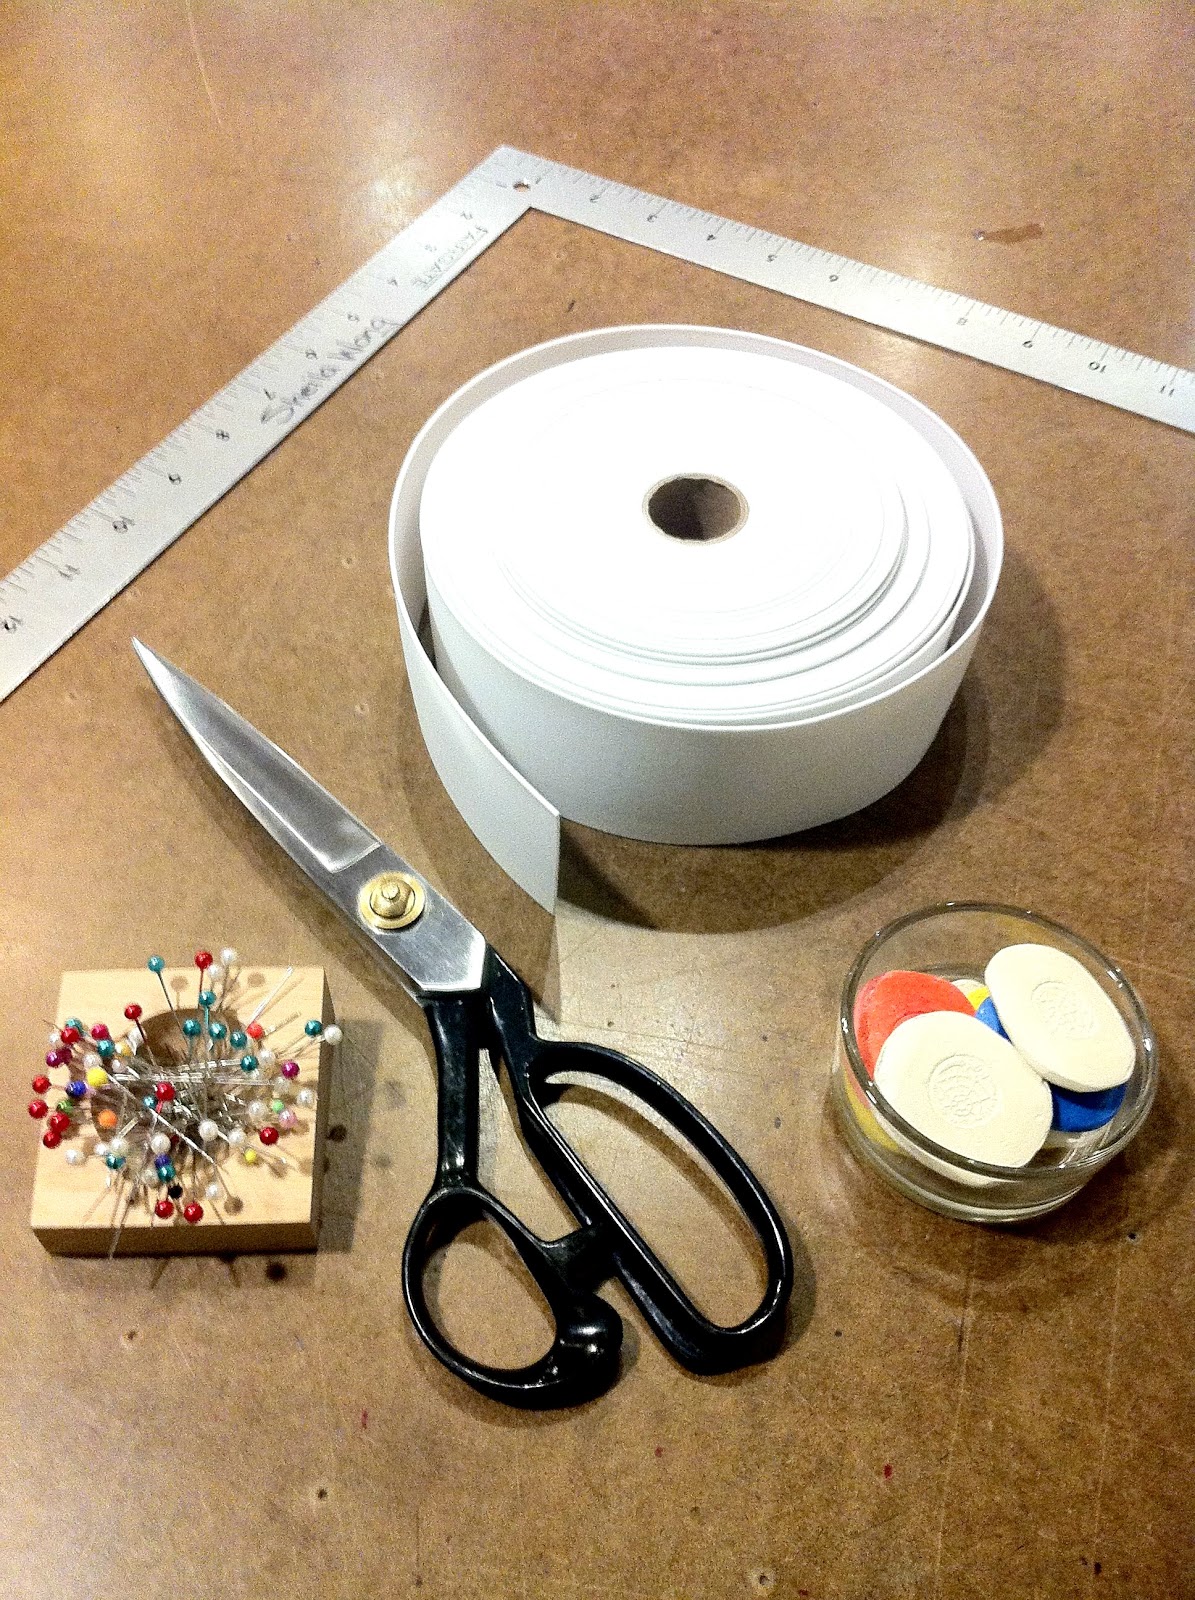
Materials Needed:
0.5 - 2m of stretch fabric (Polyester/Spandex blends are optimal, amount varies depending on length of your skirt)
0.75 - 0.9m of 2" width elastic
Sewing machine (not pictured)
Iron and iron board (not pictured)
Fabric shears
Quilting ruler
L Ruler (optional)
Pins
Chalk
Safety Pin (not pictured)
Instructions:
1. Lay the fabric flat good sides together.
2. For our measurements, we created a square 21 1/2" by 21 1/2", but extend these measurements to fit a longer skirt. (21 1/2" by 27 1/2") Chalk the box, and cut it out. Please note these measurements fits a 25-27" waist.

3. Place the two pieces good sides together, and pin the side seams. Sew at 1/2" seam allowance down both sides, and backstitch.

4. Press seams open if needed.

5. Fold in the waist by 3" so the top should be bad sides facing each other. Pin and sew at 2.5" all the way around, leaving a 3" opening for the elastic. Backstitch at the start and end points.

6. Measure around your waist or where you want the skirt to sit. Subtract 1" from the measurement and cut the elastic to that length.
7. Attach a safety pin to the elastic and use it to feed the elastic through the opening. Make sure it is laying flat all around.
8. Sew the elastic together at 1/2" from the raw edges. Push it into the casing area.

9. Top stitch the elastic in, closing the 3" opening. Remember to backstitch.

10. Fold the hem in at 1", so that bad sides face each other. Topstitch all the way around at 3/4", starting at a side seam.

Tada! A fabulous fashion statement in ten steps!
Hope you all enjoy wearing your new high waisted skirts, share with us the outfit :)

Until next time, happy sewing,
FashionDIY Artista!