Showing posts with label eco. Show all posts

Wednesday, August 17, 2011

[DIY Tutorial] Upcycled T-Shirt Stash Bag

Here's our simple tutorial on how to "upcycle" an old t-shirt into a stash bag!
We've stuffed ours with extra thread spools!


Materials needed:
Sewing machine
Serger (optional)

Old t-shirt
Ribbon or drawstring
Ruler
Chalk
Pins
Fabric Shears
Medium/Large Safety Pin
Iron (not pictured)


Instructions:
1. Lay t-shirt flat on table, measure and chalk out a rectangular box 10" wide x 13" tall.


2. Pin around the edges (to keep the back and front of the t-shirt together) and cut the rectangle out.


3. Place good sides together and chalk out 1/2" seam allowance from the left, bottom, and right sides. Leave a 2" space at the top on the right side. (This is where the drawstring goes so we dont want to sew it closed!)


4. Pin pieces together and sew on the chalked line. Make sure the good sides are together.


*IMPORTANT: To keep the corners sturdier from however much weight you keep in your stash bag, change the stitch length when sewing the corners. About one inch away from the corner, change the stitch length to 1.5. When you reach the corner, pivot the fabric with needle in, continue sewing at 1.5 for another inch then change the stitch length back to 2.5. Do this to both bottom corners.
Click on photo to enlarge
5. After sewing the sides and bottom, iron the side seams at the top flat.


6. Mark 1" from the top on the front and back of the good sides.


7. Fold in the top at the chalk line and iron flat all around.
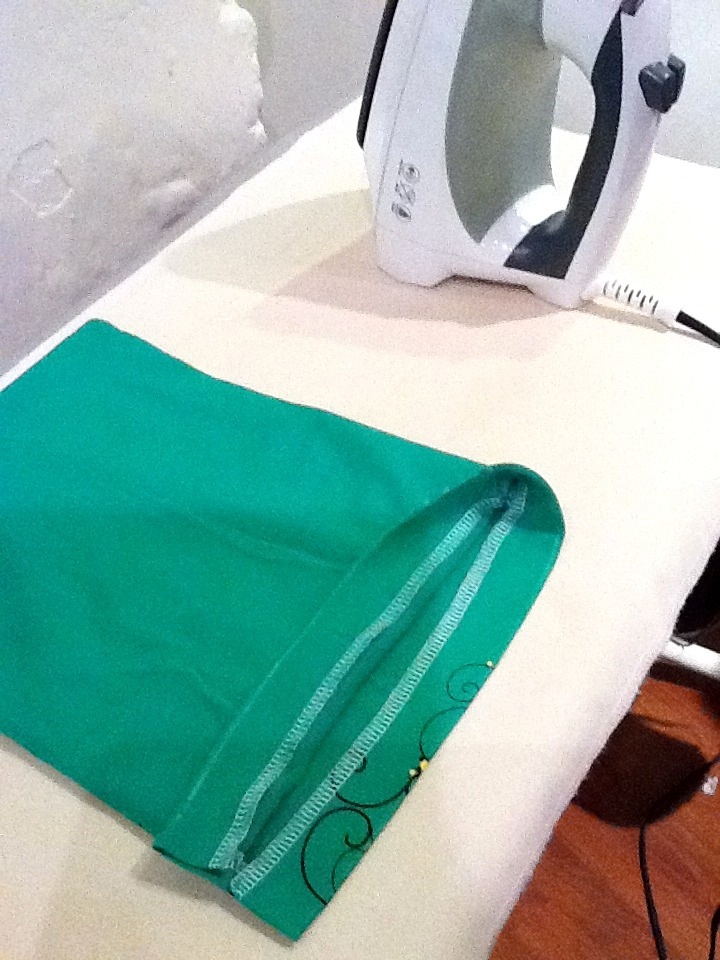

8. Pin the 1" part down and sew around the bag at around 5/8". We are creating the casing for the drawstring.
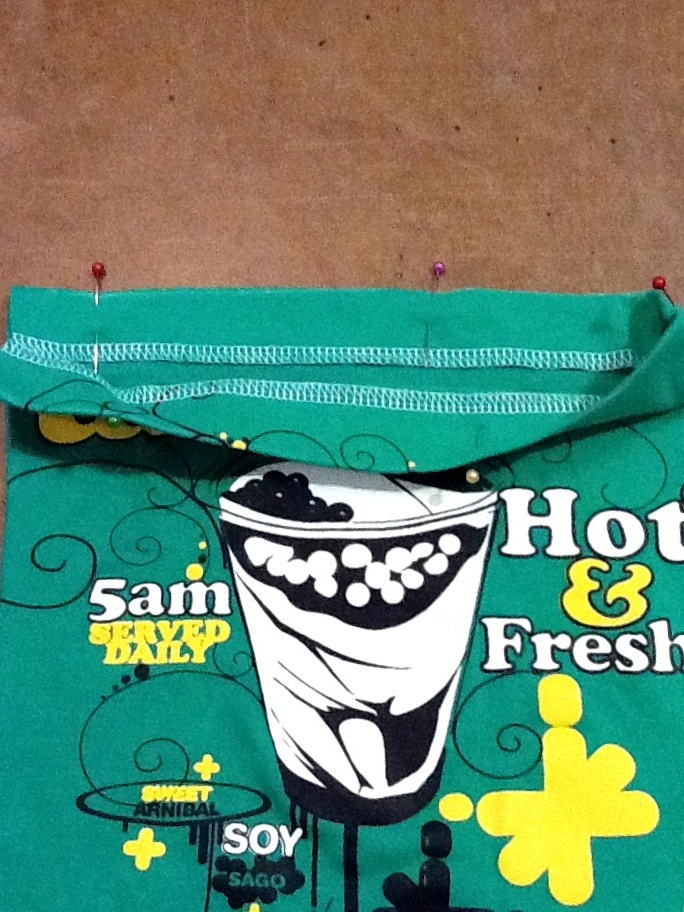

9. After sewing all around, attach the safety pin to one end of your ribbon/drawstring and put it through the top casing that we have just created. Feed the safety pin through until it comes out the other end.


10. Pull the two ends together, knot them and you're done!


Hope you enjoyed that tutorial and enjoy your new upcycled stash bag!
Let us know what you put in yours, we're storing thread spools in ours :D
Comments and questions are welcome too.

Till next time,
Happy Sewing!

FashionDIY Artist

Monday, May 16, 2011

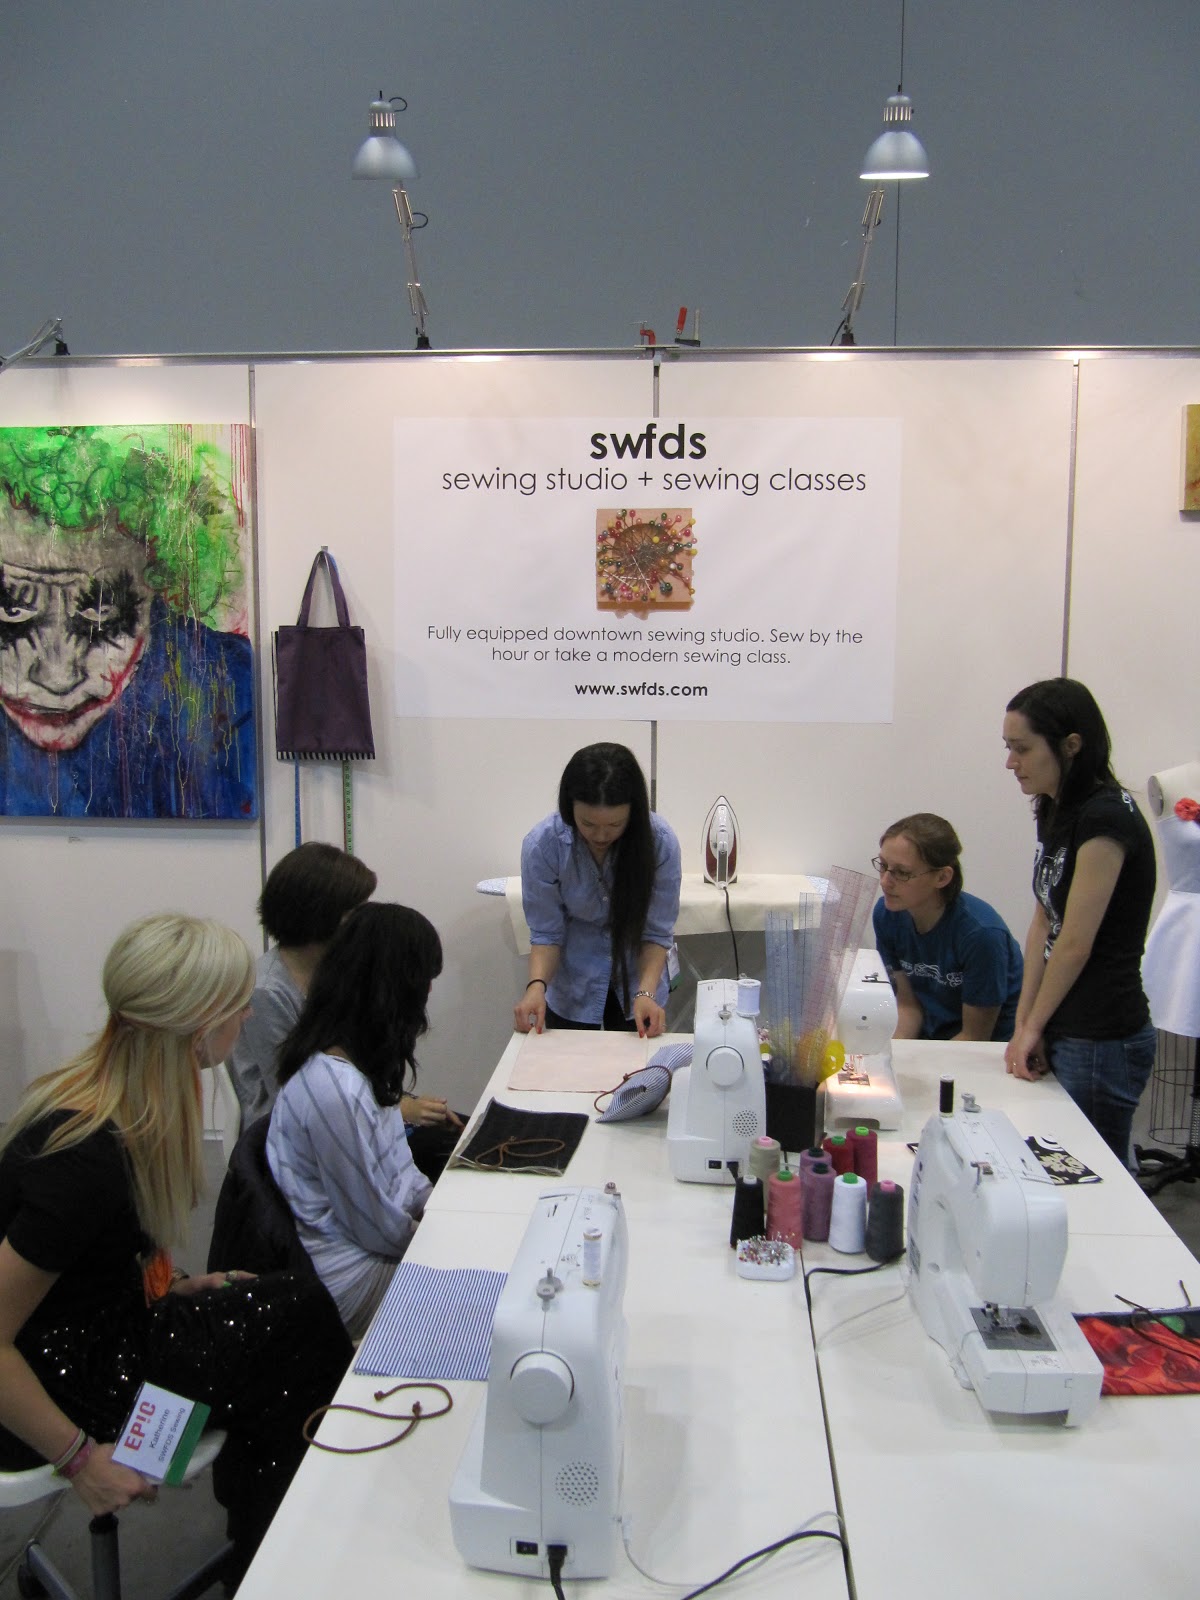
SWFDS @ Epic Expo

This weekend the SWFDS team paired up with a few local designers at Epic Expo - hosted at the Vancouver Convention Centre. The event was created to exposed and encourage active businesses practicing sustainable living.

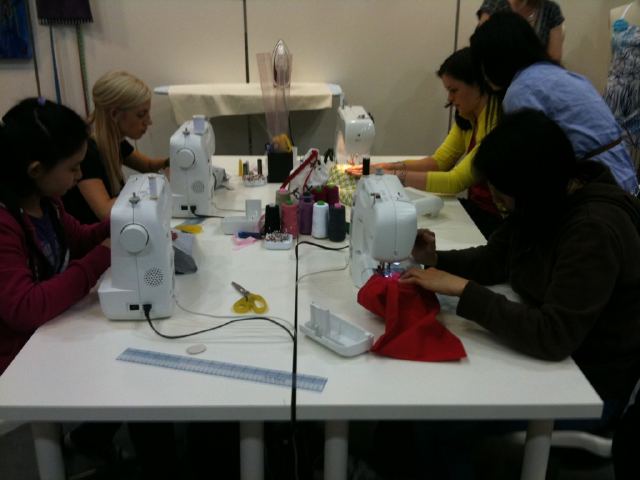
We had an amazing time! Clients, friends, and family were in and out all weekend sewing with us, and the new additions to the studio. Over the weekend we taught 3 different workshops: how to make an eco stash bag, a vintage clutch, and cute little rosebud hair clips.

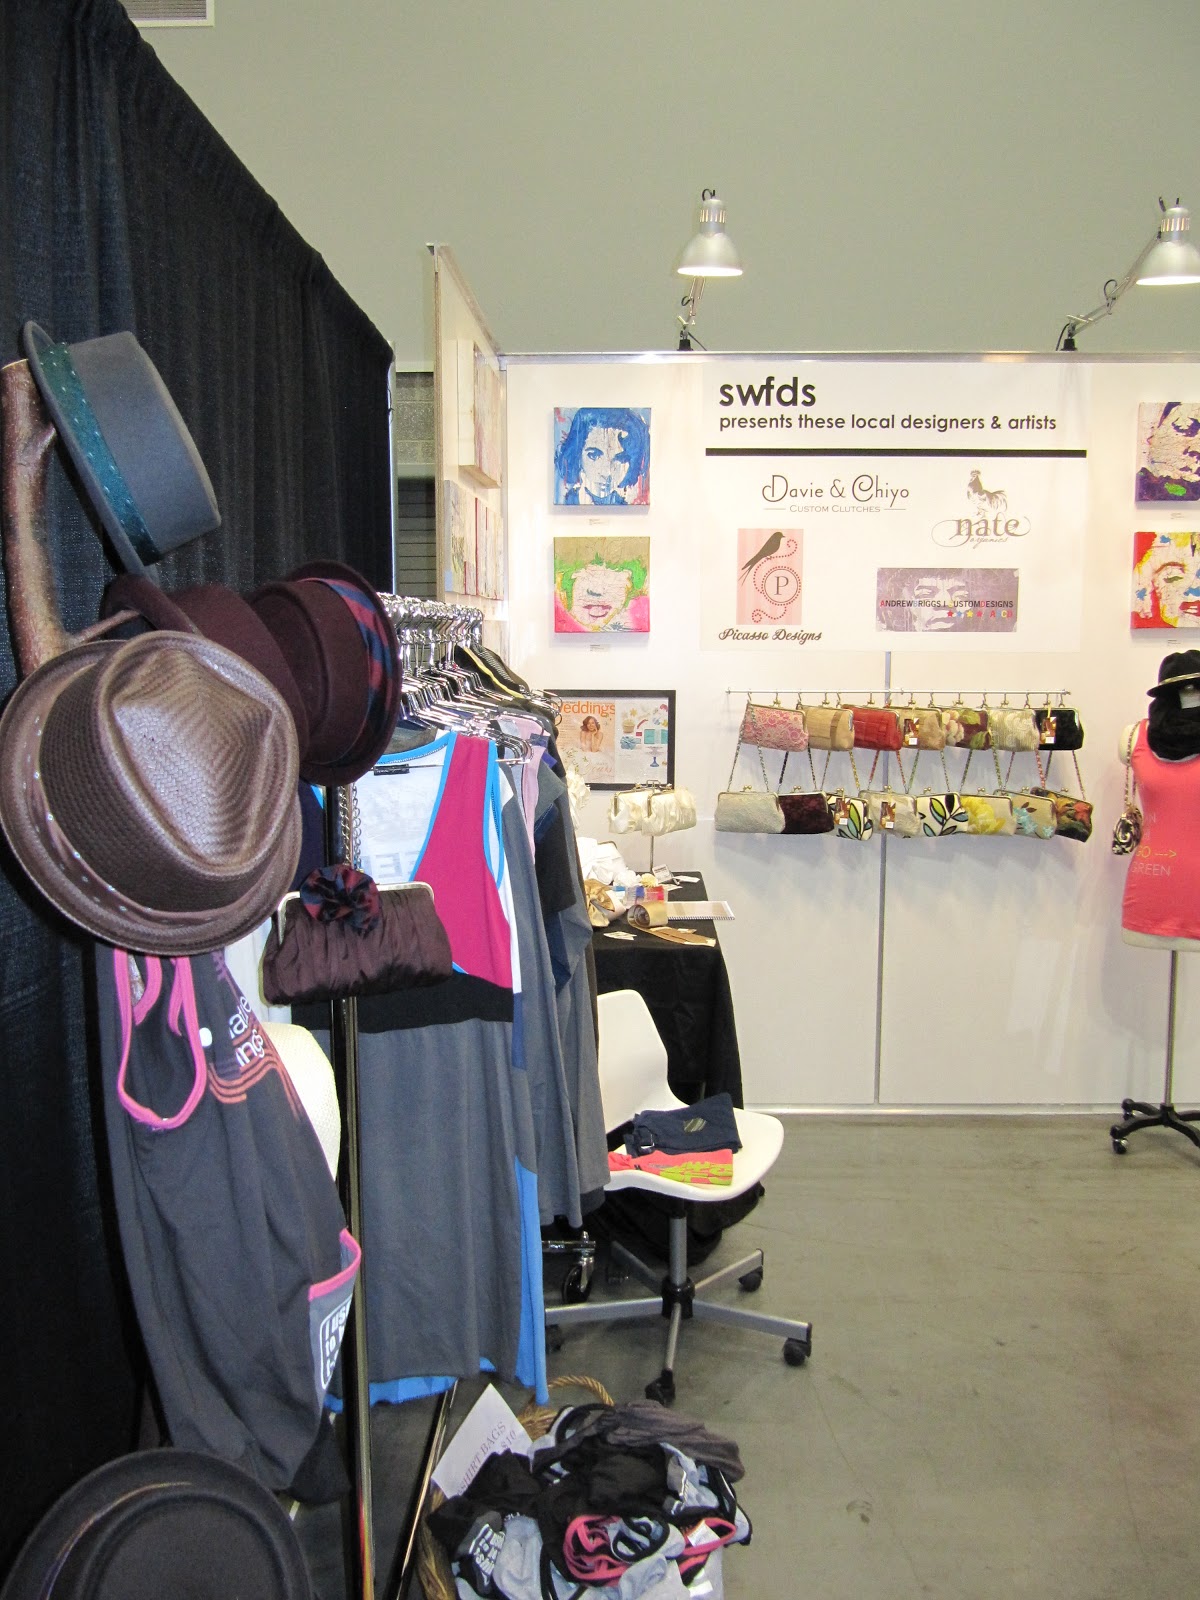
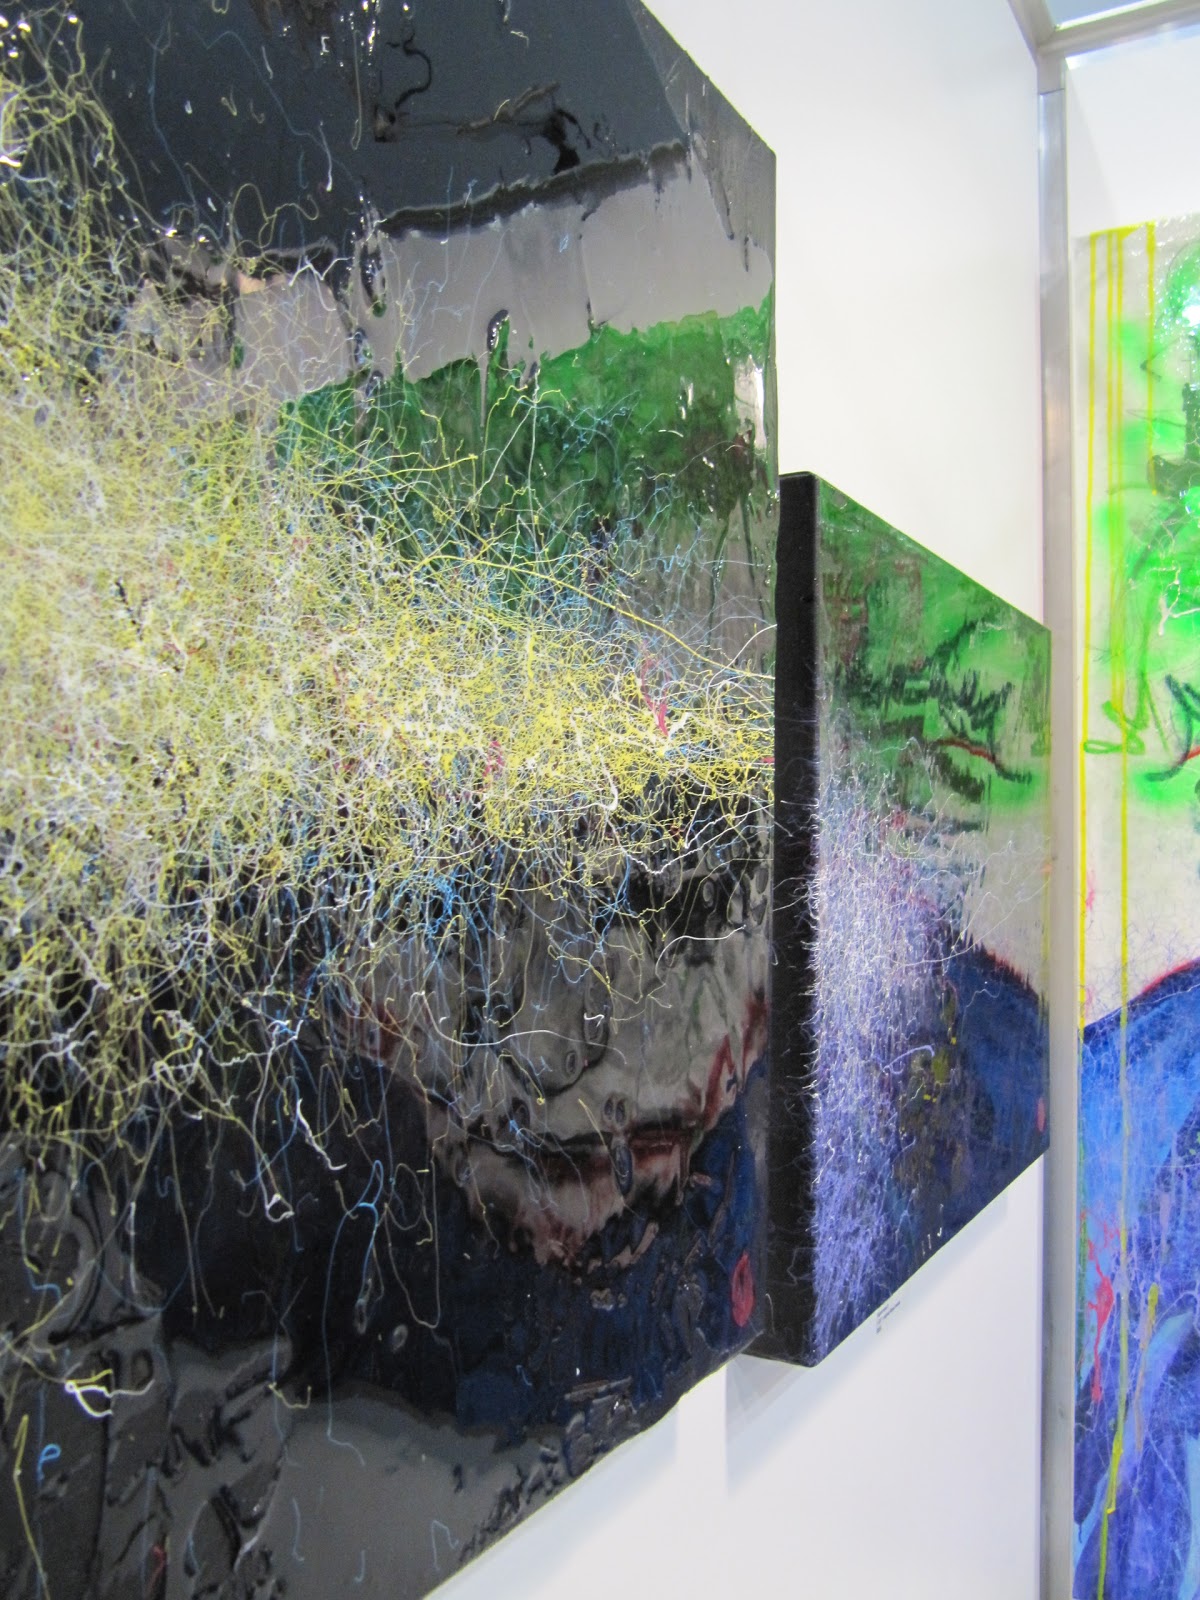
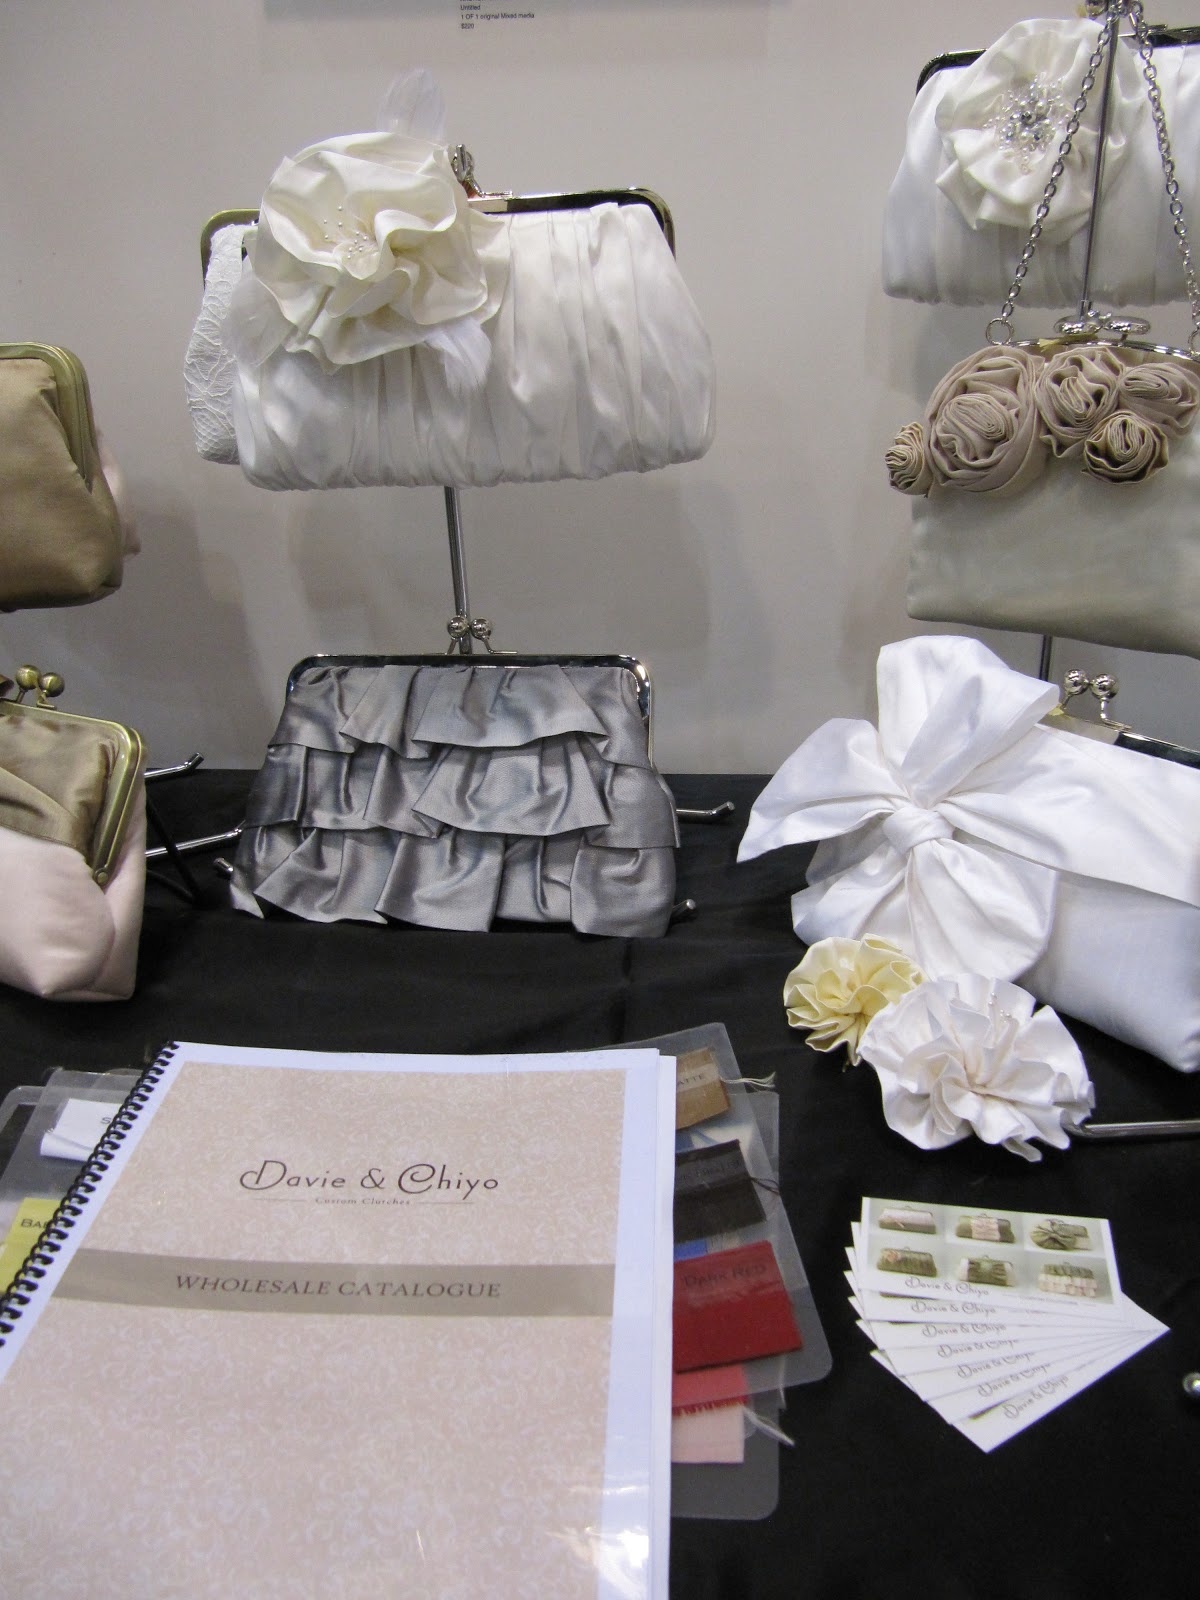
Featured in our booth was custom artist Andrew Briggs, Davie & Chiyo clutches, Picasso Designs infinity scarves, and clothing by Nate Organics.

So many pictures were taken throughout the event - here's a look in case you couldn't make it!

In the SWFDS booth teaching a workshop
Sheila teaching the girls how to make rosebud hair clips
Stylist Robyn Wall is teaching the class how to make an eco stash bag
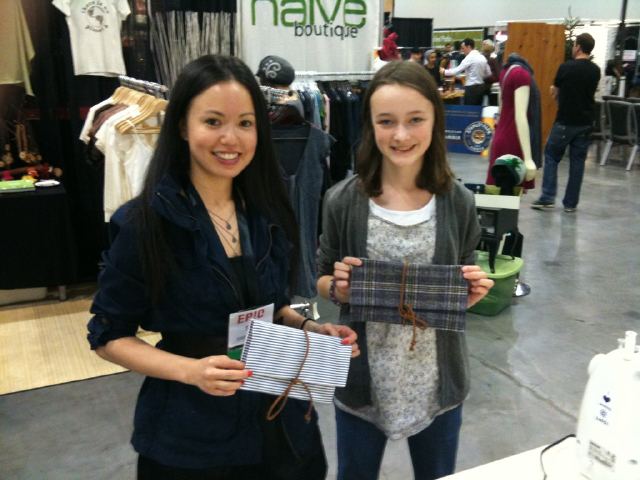
They made those!
Designer Booth
Picasso Design infinity scarves 
Rose bud hair clips
Sheila and Lisa with her rosebud hair clips
Andrew Briggs "ABC" Custom Designs
Davie & Chiyo clutches

Monday, November 8, 2010

Limited Edition Eco Totes


Be kind to the environment in style. Each season SWFDS produces 50pcs only in one design.

This seasons design is neon bright green graphic on a raw undyed heavy cotton canvas! Fun for picking up books or lunch in Vancouver rain. If you love to sew like us its perfect for holding your sewing supplies. Your quilting ruler even fits :)

Each Eco Tote is designed and sewn in our sewing studio. All graphics screen printed by local artist Andrew Briggs. Keeping it local is what were about!

$15 CAD + HST

Pick up your bag from SWFDS.