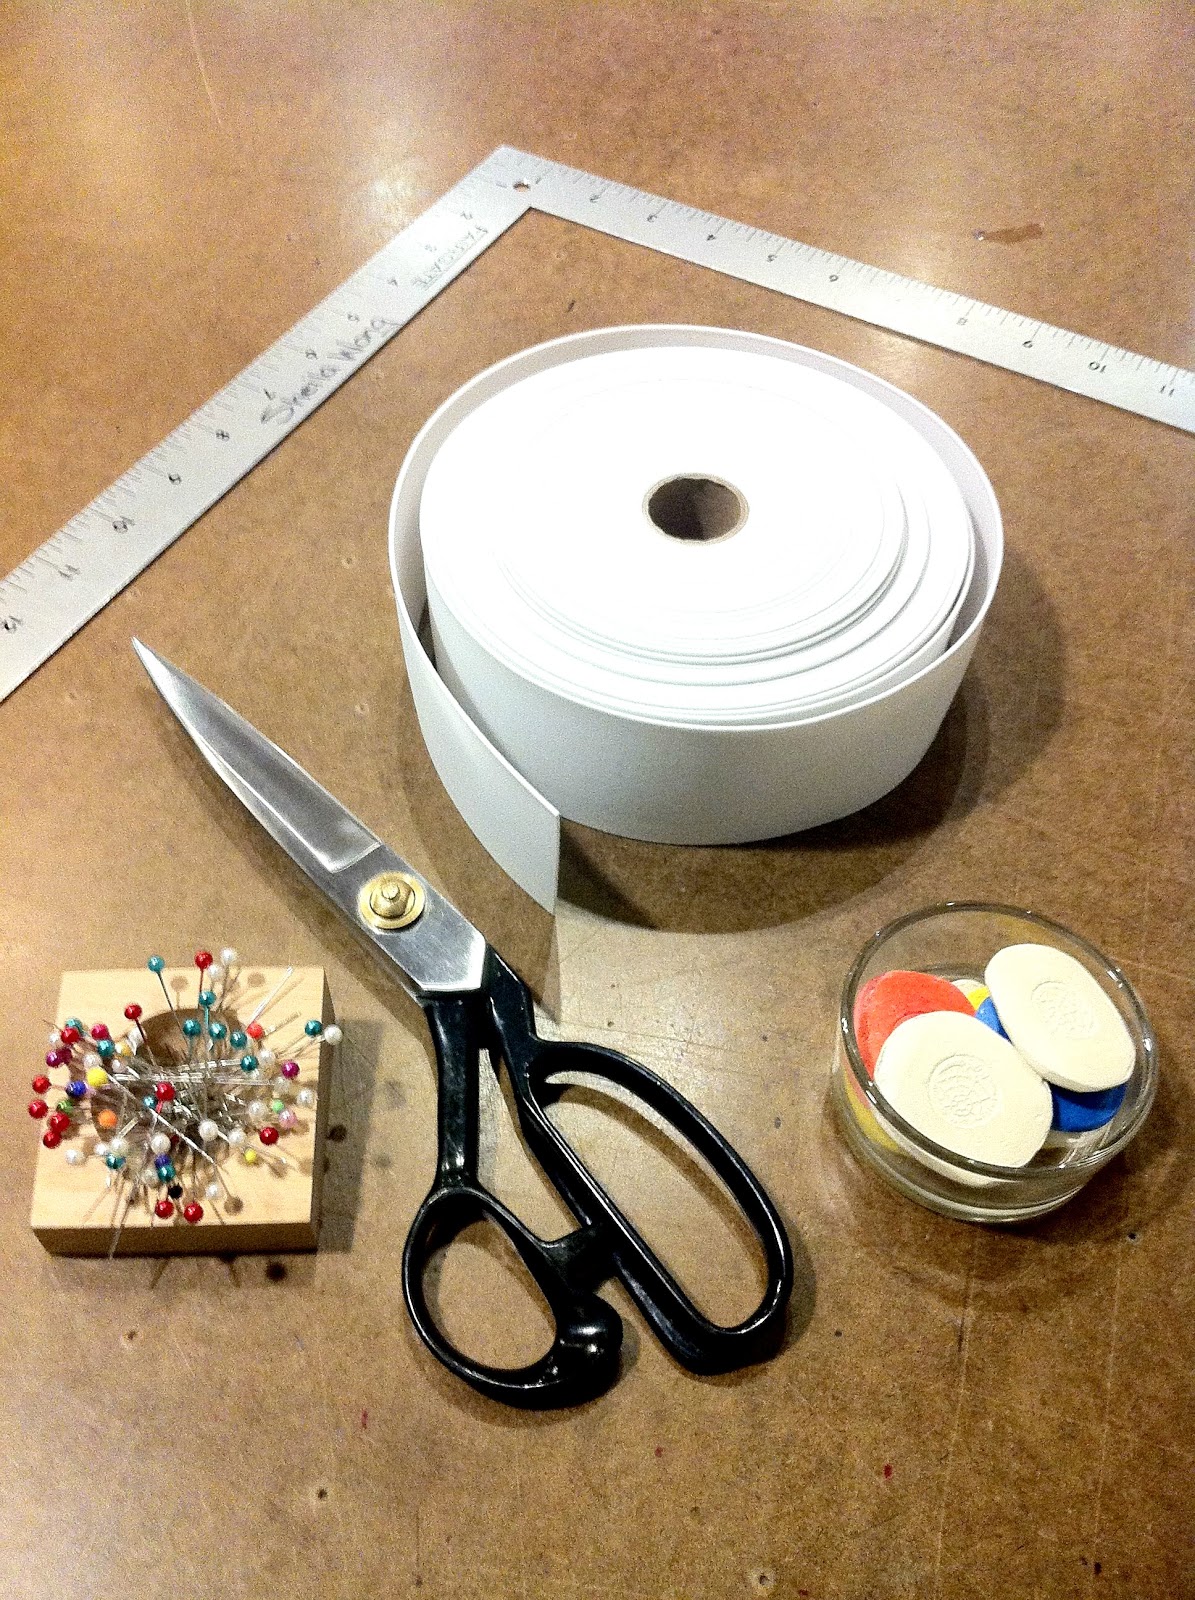
If you've missed our daily sewing tips on Twitter, no worries, we've got them all compiled together with pics. Some of them may be common sense, but just take a refresher and you'll be able to prevent yourself from any accidents and end up with a great project! *Pics will be added along the way*
We're back with our third addition of sewing tips, keep updated as we add new ones!
[Sewing Tip 1] Press your seam open after sewing for a polished look. Less homemade, looks more professional.
[Sewing Tip 2] When sewing a square project or a corner, trim off a triangle on your seam allowance 1/8" away from sewn corner. This prevents bulkage when flipping project inside out. *PS- This example is from our reference board in studio, which also includes examples of stitches, hemming, pockets and other sewing techniques!
[Sewing Tip 3] When attaching fusible interfacing always use a fabric guard in between iron and interfacing to prevent glue from sticking to iron.
[Sewing Tip 4] Change your sewing machine needle after 2 major projects.
[Sewing Tip 5] This might be common sense but only use fabric scissors for fabric, never paper!
[Sewing Tip 6] No empty bobbins? Wrap a new thread color over top of a half full bobbin.
[Sewing Tip 7] Test your thread tension using a scrap of your project fabric before sewing your project.
[Sewing Tip 8] Purchase a pair on thread clippers like these. Easier to trim threads then big scissors. Very handy!
[Sewing Tip 9] To find your natural waistline measurement, bend to the side and take your measurement where it hinges.
[Sewing Tip 10] When hand sewing silk use a thinner guage needle so needle can glide through fabric easily and leaves smaller, less noticeable holes.
[Sewing Tip 11] Dont rush sewing during the last steps of your project. That's when the most mistakes happen.
[Sewing Tip 12] Trim off the hanging threads after sewing a seam. This ensures no threads will be pulled into machine later when sewing.
[Sewing Tip 13] Invest in a magnetic pins holder. Easier to grab and store pins! Buy from Dressew, it's cheap.
[Sewing Tip 14] If you sew a lot like us, ensure you clean out any fuzz & threads from around your bobbin area. Better quality stitches.
[Sewing Tip 15] Backstitching is used to re-enforce a seam. Only do 3-4 stitches, anymore will just add unneccessary bulk.
[Sewing Tip 16] Keep a cover on you sewing machines while not in use. Decreases the amount of fuzz/dust that can accumulate.
[Sewing Tip 17] When pressing a garment press all seam allowances towards the back or down.
[Sewing Tip 18] No serger? Use a zig zag stitch close to the seam allowance raw edge instead. Or come and use ours :)
[Sewing Tip 19] When threading your machine ensure presser foot is up. This ensures thread sits properly in tension areas.
[Sewing Tip 20] Pre-wash fabric prior to sewing. If you forget, then wash in cold water and hang to dry to maintain original shape.
[Sewing Tip 21] Avoid lots of pins when sewing with silk, decreases the amount of holes. Or just pin in the seam allowance area.
[Sewing Tip 22] Prior to sewing a hem, press it in, so that the hem lays flat while sewing. Make sewing easy!
[Sewing Tip 23] Need to decrease the height /width of a garment? Do it from the middle and re-curve outer seams. Never from the outsides.
[Sewing Tip 24] Keep food and drinks away from machines and irons. Who wants sandwich crumbs melted into their project??
[Sewing Tip 25] Always have black, white, and another colour you use often in thread.
[Sewing Tip 26] When using a seam ripper remember the blade is in the valley of the ripper. Don’t pick away at your thread using the tip, use the valley.
[Sewing Tip 27] Have your fabric sheers sharpened at least once a year or earlier if you sew often. Keeps you and your fabric sane!
[Sewing Tip 28] Lost one button on your blazer and can’t find a replacement? Replace all the buttons for a fresh look. Or keep a bunch of extra buttons around like us!
[Sewing Tip 29] Always place the big pattern pieces first on the fabric, then the small ones will fit around.
[Sewing Tip 30] Keep a pin holder beside your sewing machine or you will have pins everywhere.
[Sewing Tip 31] Prior to cutting out pattern, ensure fabric is good sides facing each other.
[Sewing Tip 32] Invest in a quilting ruler. Handy for pattern drafting and sewing. These come in different sizes so pick one that youll use most often, or just get both for convenience.
[Sewing Tip 33] Your machine is dead & you want to get rid of it. Take it to a machine store and they can recycle for you.
[Sewing Tip 34] Pins dull over time, replace them if they are no longer gliding through fabric smoothly.
[Sewing Tip 35] There are different heights to bobbins, always use the correct height bobbin for your machine. Make sure you don't mix up domestic and industrial bobbins!
[Sewing Tip 36] Chalk out your sew line prior to sewing if it’s a detailed seam. Extra time but your seam will be flawless.
[Sewing Tip 37] When using chalk apply lightly on fabric or it might take several washes to remove.
**NEW**
[Sewing TIp 38] Use heavy weight drafting paper instead of regular paper to extend the life of patterns.
[Sewing Tip 39] Keep all your patterns organized with pattern hooks & a hole puncher.
[Sewing Tip 40] Store fabric in clear containers. You can see your fabric easily and is dust-free.
[Sewing Tip 41] Sew all seams at 2.5 stitch length. This size creates a secure seam.
[Sewing Tip 42] Sewing an appliqué onto a garmnet? Attach fusible interfacing to back of appliqué for easy sew.
[Sewing Tip 43] If you don't have an iron & in desperate need use a flat iron! Handy for dress shirts (and travel!)
[Sewing Tip 44] Steam a zipper seam instead of pressing directly so you don't melt it! Use your fingers to press seam flat.
[Sewing Tip 45] Machine light too dark? Install a 2nd light, like the ones at in studio, so you can see exactly what you’re sewing.
[Sewing Tip 46] Altering the shape? Try the garment on inside out so you can mark where to sew and hide chalk lines too.
[Sewing Tip 47] Your grain line is parallel to your selvage edge. Selvage edge is the uncut edge.
[Sewing Tip 48] Sewing a ton like us? Invest in a Cone Thread Holder like this one. PS- We sell them too!
[Sewing Tip 49] Do not pre-wash wool fabric, steam it instead!
[Sewing Tip 50] If you are serging an item with rounded corners, start serging on a straight edge not a corner.
[Sewing Tip 51] Chalk comes in different forms & colours- tailors chalk, roller wheel, etc.. Find one that works best for your fabric.
[Sewing Tip 52] Making patterns? Use a tracing wheel on top of your pattern paper so you can easily create the pattern.
[Sewing Tip 54] Something feels funky when sewing with your machine? Stop right away, check the bobbin case, and rethread if needed.
[Sewing Tip 55] When using the hand wheel on sewing machine, remember only turns towards you! Never away from you.
[Sewing Tip 56] When using diff fabrics, always test it on a scrap first to see if you need to adjust tension or stitch length.
[Sewing Tip 57] Cutting out patterns? Get weights like these to hold the pattern down while you work.
[Sewing Tip 58] When hand sewing keep an eye on how much thread you have left to ensure you can still tie a knot.
[Sewing Tip 59] You don`t need machines with lots of fancy stitches. Straight, zigzag, and button hole are good enough.
[Sewing Tip 60] Don't throw away your scrap fabric. You can always use it as test fabric. Ziplock it away as storage.
[Sewing Tip 61] Don't have a serger or machine with zigzag stitch? Use pinking shears to finish a raw edge
[Sewing Tip 62] Create your own binding with a strip of fabric and press the folds as shown in photo