Friday, July 29, 2011

[DIY Tutorial] Baby Receiving Blanket

Here are our DIY baby receiving blankets! Follow our tutorial to learn how to make this simple and inexpensive project!


Materials needed:
1.1 Metres of fabric (100% cotton in flannel or cuddle)

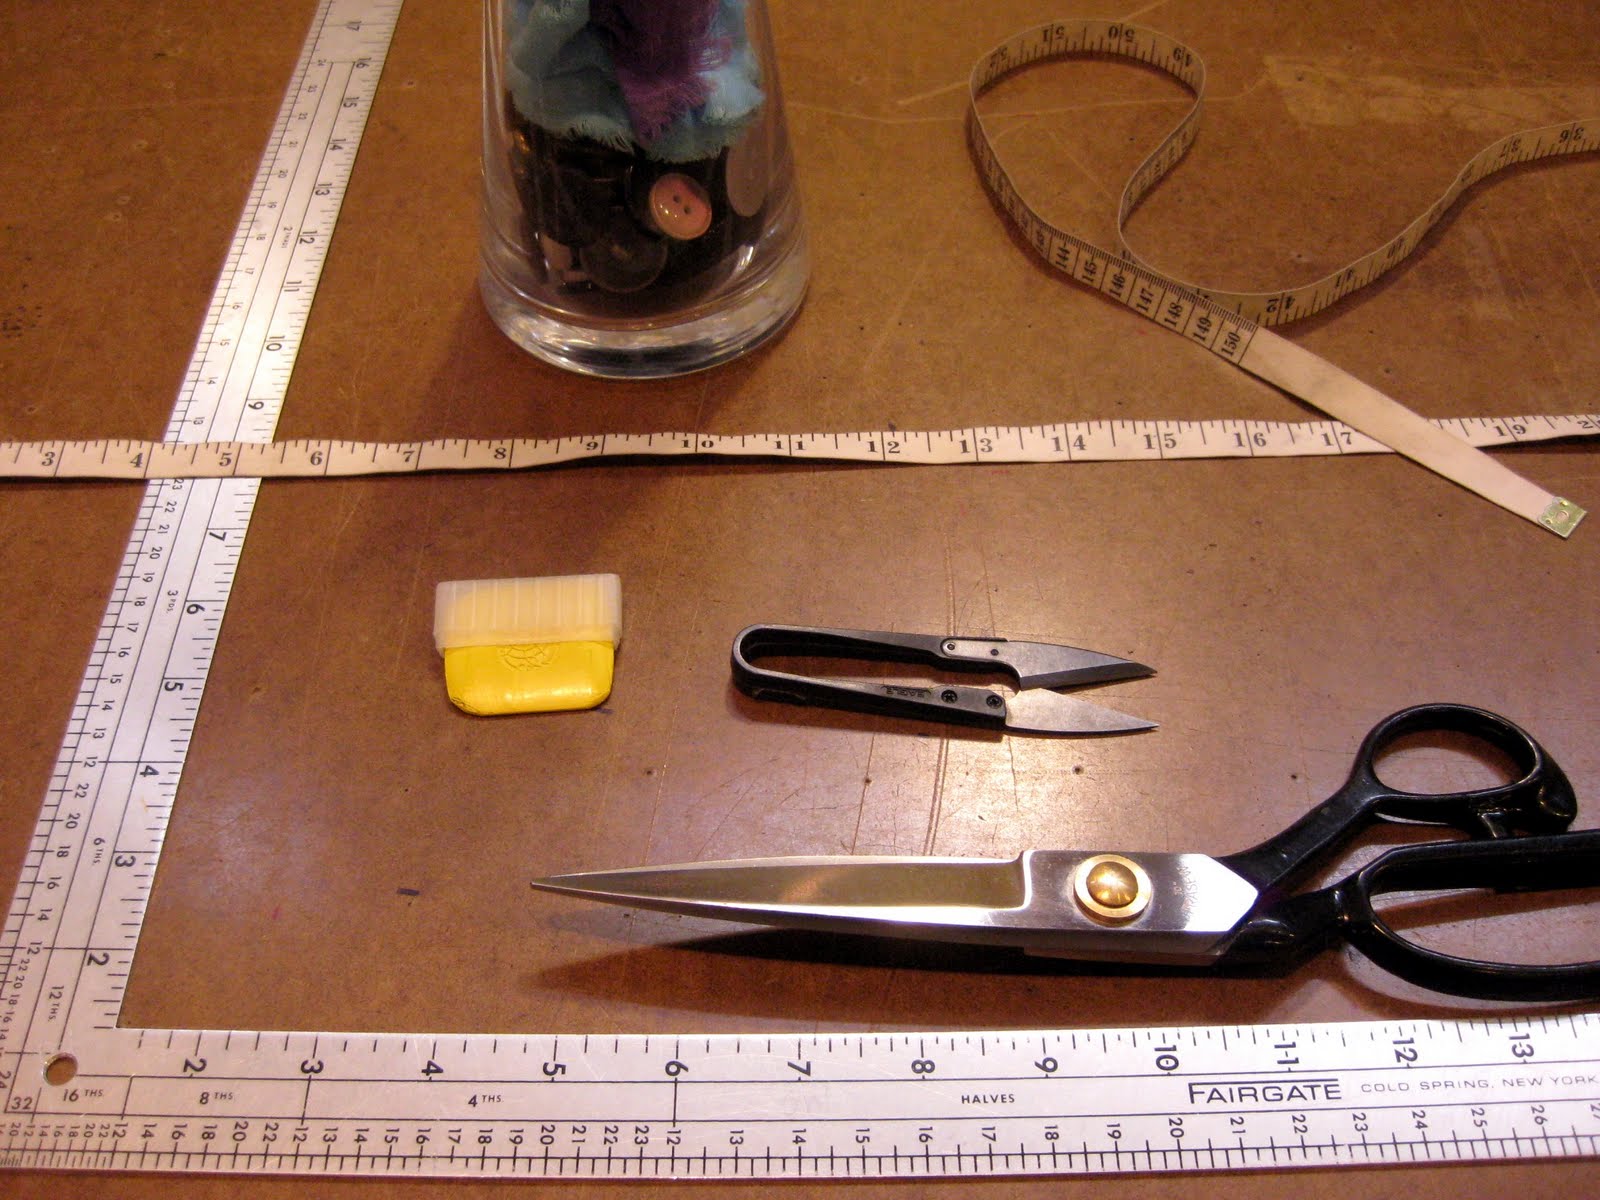
Sewing supplies needed:
Serger sewing machine (not pictured)
Fabric shears
Ruler
Measuring tape
Chalk
Circle reference (a mug or cup will work)


Instructions:
1. Decide what dimensions you'd like for your finished receiving blanket.
These instructions are for a 40" x 40" oversized blanket.

2. Lay fabric flat on the table.


3. Use a measuring tape to a 40" x 40" square (or whatever dimensions you've chosen). Chalk out your line and cut.


4. Take a mug or any circular object and line it up to the corner edges of the fabric.
Chalk the new rounded edge to all four corners.


5. Starting on a side not a corner, serge all the way around the blanket.


6. Trim off any excess threads from the serger and you're done!


For any questions, don't hesitate to drop us a comment below, send us an email or just visit us in studio! 
Happy sewing!

Monday, July 25, 2011

July's Throw Pillow Workshop Recap

Check out yesterday's throw pillow workshops!

11 students in a variety of sewing levels (from beginners to sewing experts) participated in our one day workshop, with 2 sessions offered. It took less than 2 hours to sew both pillow covers!

2 envelope throw pillow covers made from silk
(left to right: Michelle, Sasha, and Sheila with their pillow covers)
Tai sewing her second pillow cover
Sasha working on her pillow cover
Michelle showing off her completed pillow covers!

If you missed out, no worries! Our August workshop is coming up soon, details to be released very soon, so be sure check our website and Facebook for updates!

Thursday, July 21, 2011

[DIY Tutorial] Safety Pin Shirt

Here is our DIY Destroyed Safety Pin Shirt, inspired by Balmain from their Spring/Summer 2011 Collection. Learn how to make it yourself without paying the $2570 price tag!


Materials needed:

Plain black shirt (any style)
Safety pins in a variety of sizes 
Fabric shears
Chalk

Instructions:
1. Use the chalk to mark where you will cut. Experiment with straight lines, diagonals, curves, longer, shorter lines.


2. Cut on the chalked lines. No need to be extremely precise; jagged cuts add an edgier feel.


3. Start pinning! Smaller safety pins will keep the fabric closer together, larger ones will let the fabric move more.. and show more skin. Experiment with various sized safety pins to get a different look each time. Try spacing them out or pinning in different directions.


Here's the final look! 


Celeb Inspiration:


Korean girl group, 2NE1, also recently sported many of Balmain's safety pin pieces from their Summer/Spring 2011 Collection in their music video "Lonely".

CL in the Safety Pin Destroyed Shirt and Leather Safety Pin Jackets


Minzy, CL, Sandara, Park Bom in White Leather Safety Pin Jackets. Other pieces from Balmain's Spring/Summer Collection as well.


Photos & Credits to:
Eiffel in Seoul

Black Vneck from Forever 21
Safety pins from Dressew

Monday, July 11, 2011

Davie & Chiyo Upcoming Trunk Show!

This Thursday, July 14th at 4:30 - 7:30PM, our resident design team, Davie and Chiyo, will be hosting their first ever trunk show right here at SWFDS Sewing Studio! We decided to check out their site and pick out some of our favourite clutches to get ready for the trunk show!

Shabby Chic Leather in Taupe - $115

Sexy With Lace in Champagne on White - $78

All About A Bow in Pearl Blue - $78

Check out all their other clutches on their website and Etsy shop!


Happy Sewing!
SWFDS Sewing Team