
We are so wrapped up in the bridal theme right now (who isn't after drooling over Kate Middleton's
surreal McQueen dress!!)
Dressing for your family member and friends' big day can be quiet the headache... But you can always count on us for a little inspiration; between the May "something made, something blue workshop" and this little DIY project we've got you covered ;).Happy Sewing!
Fascinator DIY
Here's what you'll need:
- White felt
- Spray starch
- Iron and ironing board
- Floral wire
- White thread
- Thin ribbon
- Sewing machine
- Feathers
- Fabri-Tac fabric glue
- Pearl floral picks (optional)
- Large button
- Multi-surface glue
Step 1:
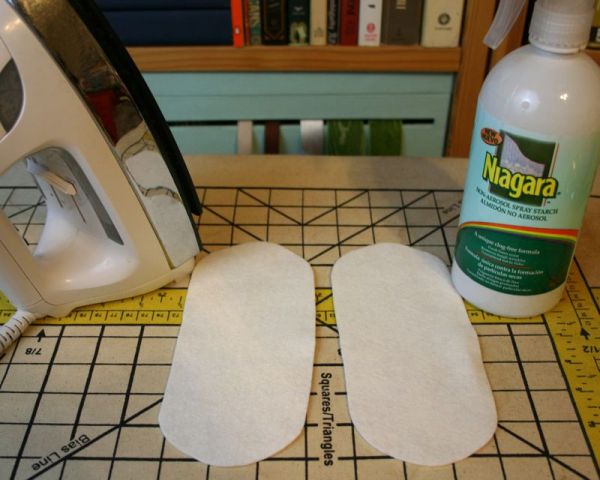 Cut two pieces of felt 7-3/4 inches by 3-1/4 inches with curved corners for the base of your headpiece. To add stiffness to your support, iron the felt with spray starch.
 Step 2:

Step 3:
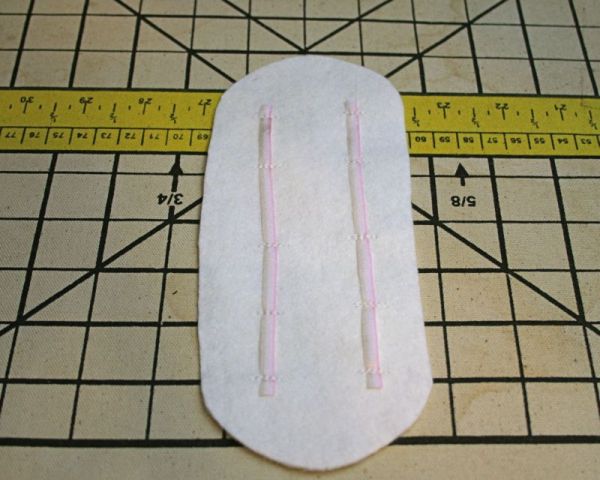
On the nonwired side, sew two strips of ribbon along the top and bottom of your felt piece, sewing down at 1-inch intervals forming loops for bobby pins.
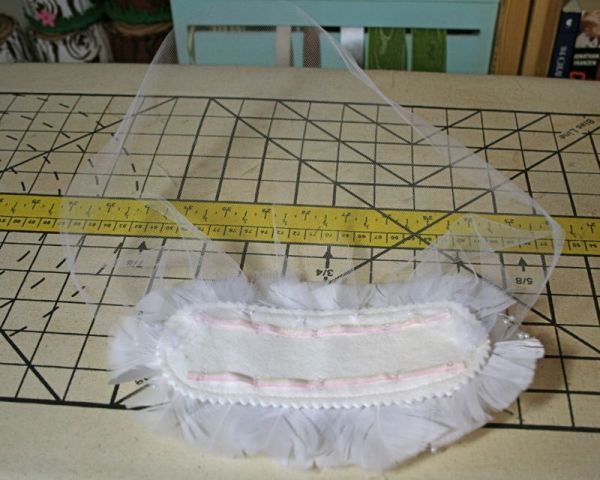
Sew together the two felt pieces with the wire on the inside and the ribbon on the outside, using your sewing machine and a 3/8-inch seam allowance. Trim off the excess with scissors or pinking shears.
Step 4:
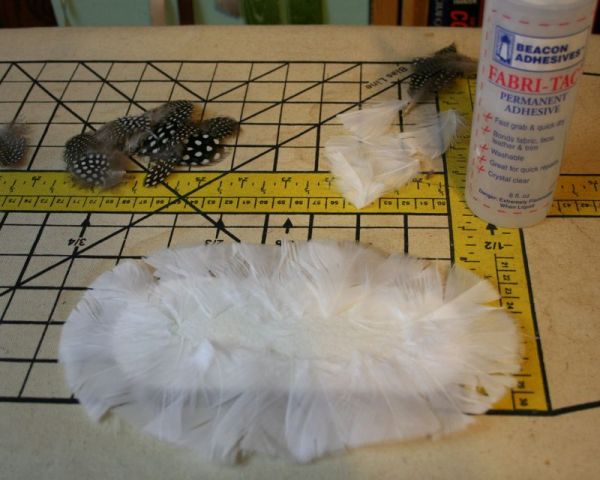
Begin adding feathers. It's best to lay out the pattern you want before you start gluing. I started with white feathers at the base, letting them overhang about an inch.
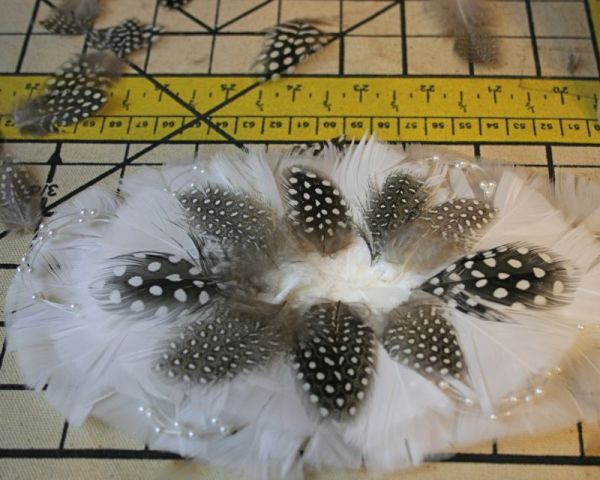
I used guinea feathers to add a bit of interest to my headpiece. I love the polka-dotted look of them and think they add a little sophistication to the piece. I also used some pearl accents between the first and second layers of white feathers.
 Step 6:
Continue filling in the feathers until you reach the middle. Finish your headpiece by gluing a pretty button into the centre.
Step 7:
Cut a piece of tulle 24 inches by 9 inches to make a fingertip veil. Curve the edge that will be around the face, and pleat the edge at the headpiece. Use pins to figure out how you want the veil to lie, then attach it with a few stitches.
Step 8:

No comments:
Post a Comment