
We've stuffed ours with extra thread spools!

Materials needed:
Sewing machine
Serger (optional)
Old t-shirt
Ribbon or drawstring
Ruler
Chalk
Pins
Fabric Shears
Medium/Large Safety Pin
Iron (not pictured)

Instructions:
1. Lay t-shirt flat on table, measure and chalk out a rectangular box 10" wide x 13" tall.

2. Pin around the edges (to keep the back and front of the t-shirt together) and cut the rectangle out.


4. Pin pieces together and sew on the chalked line. Make sure the good sides are together.

 |
| Click on photo to enlarge |

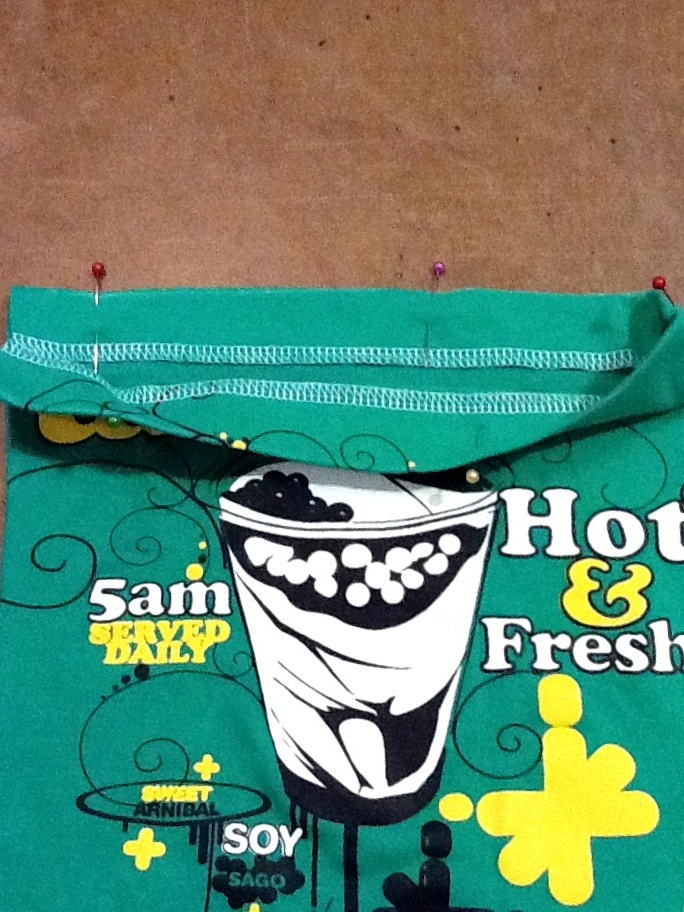
6. Mark 1" from the top on the front and back of the good sides.

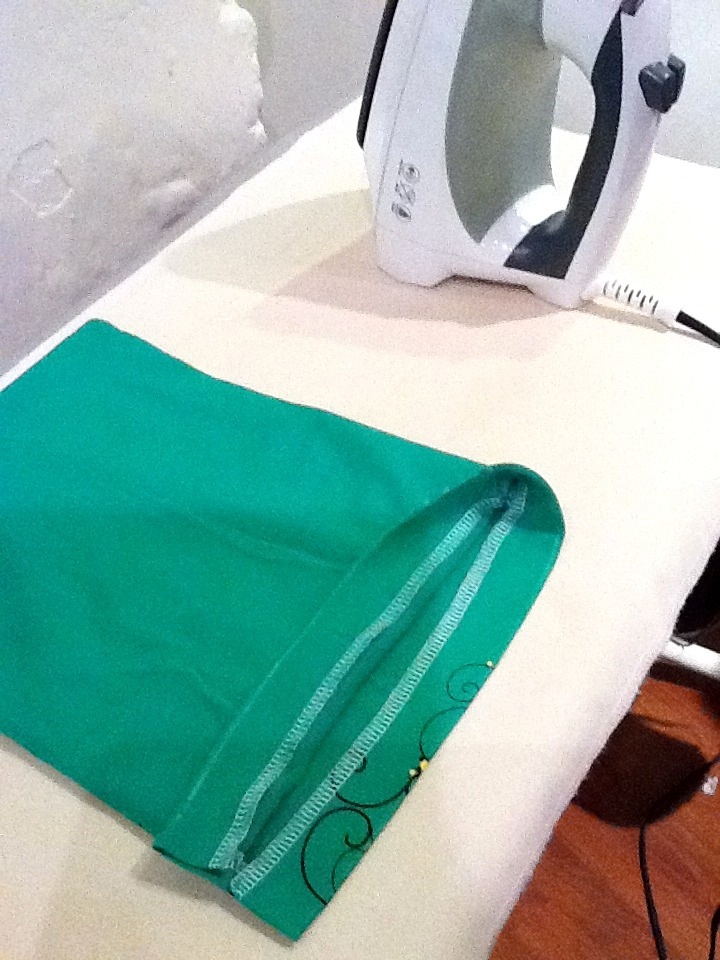
7. Fold in the top at the chalk line and iron flat all around.
8. Pin the 1" part down and sew around the bag at around 5/8". We are creating the casing for the drawstring.
9. After sewing all around, attach the safety pin to one end of your ribbon/drawstring and put it through the top casing that we have just created. Feed the safety pin through until it comes out the other end.

10. Pull the two ends together, knot them and you're done!

Hope you enjoyed that tutorial and enjoy your new upcycled stash bag!
Let us know what you put in yours, we're storing thread spools in ours :D
Comments and questions are welcome too.
Till next time,
Happy Sewing!
FashionDIY Artist
wow that's really cool! thanks for taking the time to put this step by step together.
ReplyDelete